
Timestamping
- Obtain timestamping endpoint
- Whitelist your IP address
- Send data to be timestamped
NOTE
Access to the timestamping endpoint is restricted by IP address.
1. Obtain timestamping endpoint
Timestamping endpoint: https://id.eideasy.com/api/timestamp/{{client_id}}
You can follow this short guide to obtain the client_id
2. Whitelist your IP address
- Log in to eID Easy admin
- Go to "My Webpages"
- Find the client_id you are using and click "EDIT"
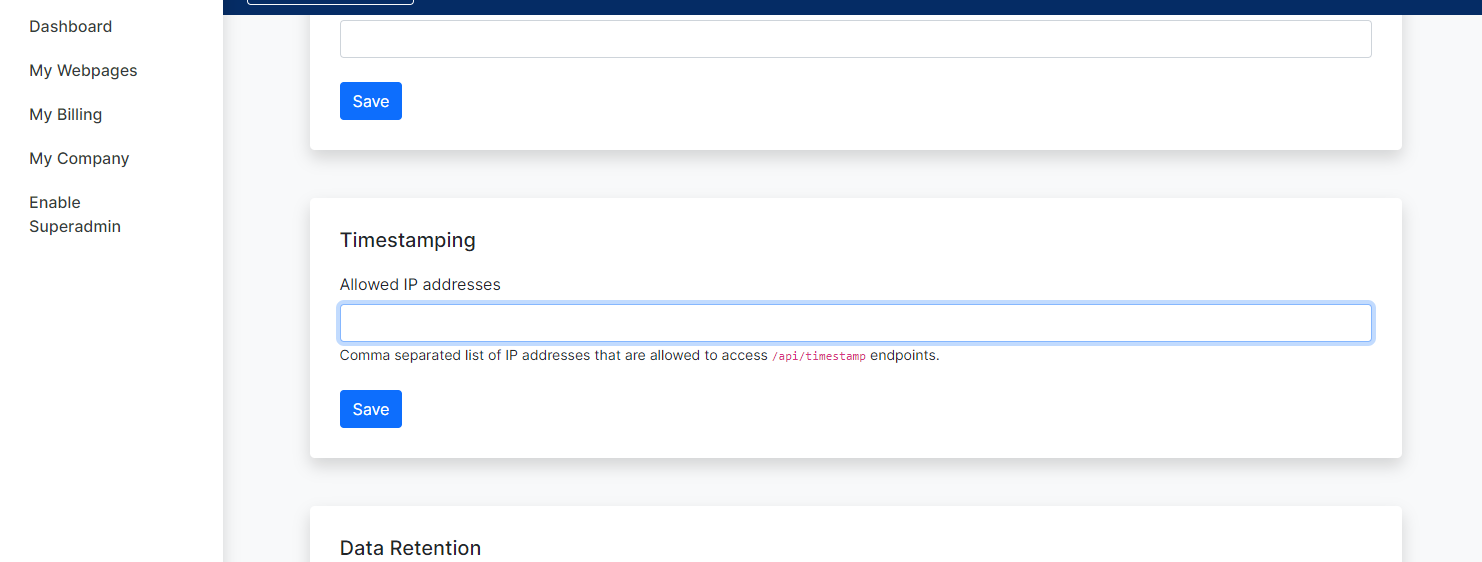
- Add your IP address to the "Allowed IP addresses" field
3. Send data to be timestamped
This endpoint follows the standard timestamping protocol as defined in RFC 3161
Check our postman collection for an example of how to send data to be timestamped. You can find the request example here.
Or try out in terminal:
printf '%s' 'MFkCAQEwUTANBglghkgBZQMEAgMFAARAcmPuUejyGr4MjLUwLKByfE0TmSahwbhkJmOakLxeWkmw/LvXTfKQdiaJlY/KStgp6xPX+8Hhrtnojyc659BRTQEB/w==
' \
  | base64 -D \
  | curl --silent --show-error --fail --location \
      'https://id.eideasy.com/api/timestamp/{{client_id}}' \
      --header 'Content-Type: application/octet-stream' \
      --data-binary @- \
  | base64 \
  | tr -d '\n'